How To Update Private Nameservers in SeekaHost Portal

By James Flarakos | August 30, 2021
Table of Contents
How To Update Private Nameservers to connect your site to your domain using the SeekaHost portal.
Connecting your domain by changing Private nameservers is how you establish the connection between your site/blog and the domain that visitors will search or click on.
What is the Difference with Regular or Private Nameservers
The difference between Private nameservers and regular nameservers is that for our PBN blog hosting service, you get a unique IP and Name server for each domain.
This is to keep a zero footprint as you grow you Private Blog Network. So we need to add our blog IP and unique nameservers so that the connection can be made.
Unique IP and Nameservers for Private Blog Networks
When creating a Private Blog Network is it essential that each blog looks unique. This is why having blogs with unique IP’s is the best way to start a PBN blog. Using WordPress hosting the IP and most likely the nameserver will be the same. Making links coming form PBN blogs non effective as its a link coming from the same server and network that the site you are linking to is on.
This wont hold as much authority in your backlink and will also expose your PBN blog. With SeekaHost we provide both unique IP address for your blogs but also sepperate nameservers that are set up to using your domain.
How To Update Private Nameservers Video Guide
How To Update Private Nameservers Written Guide
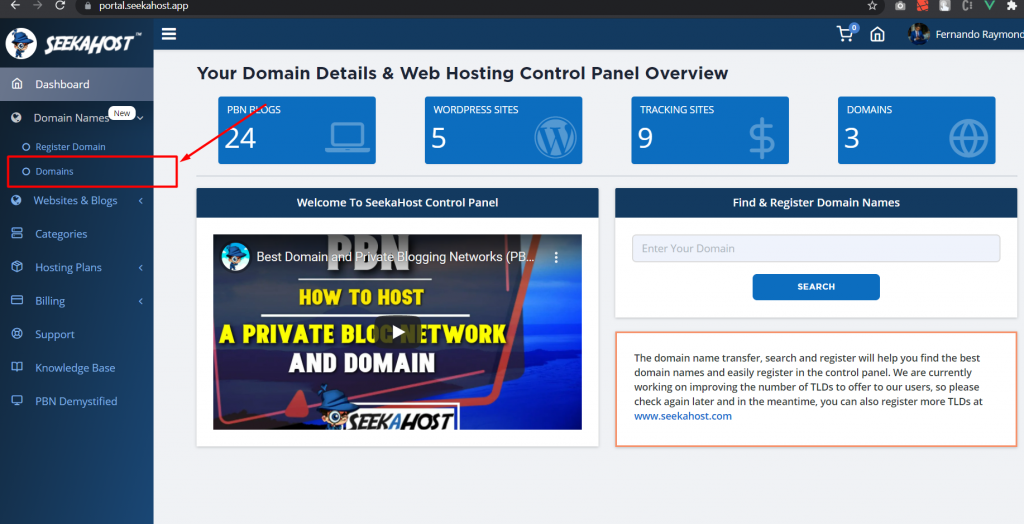
- First, go to the domain section in your portal.
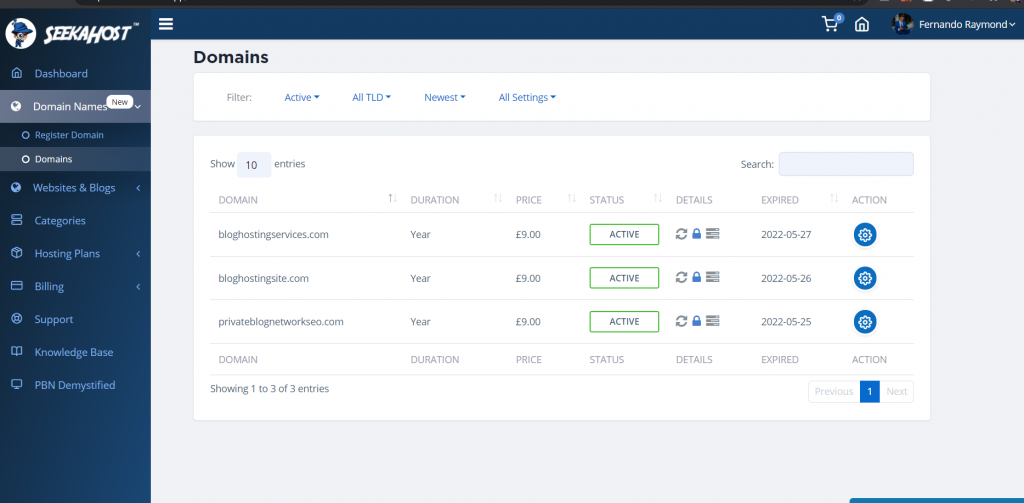
- After page will be navigate to the domains page and you can see your domain list you have already subscribed.
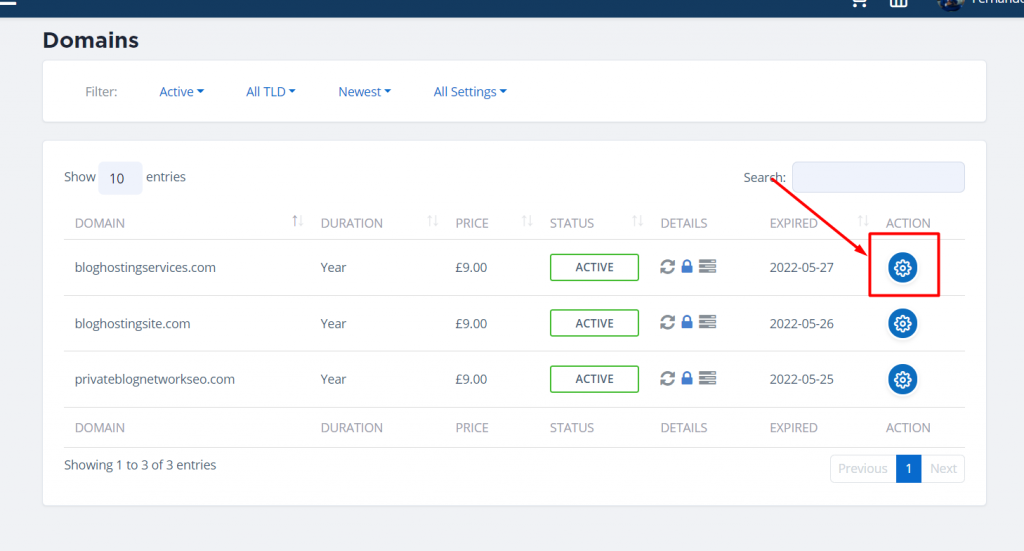
- Select the domain action icon you want to modify.
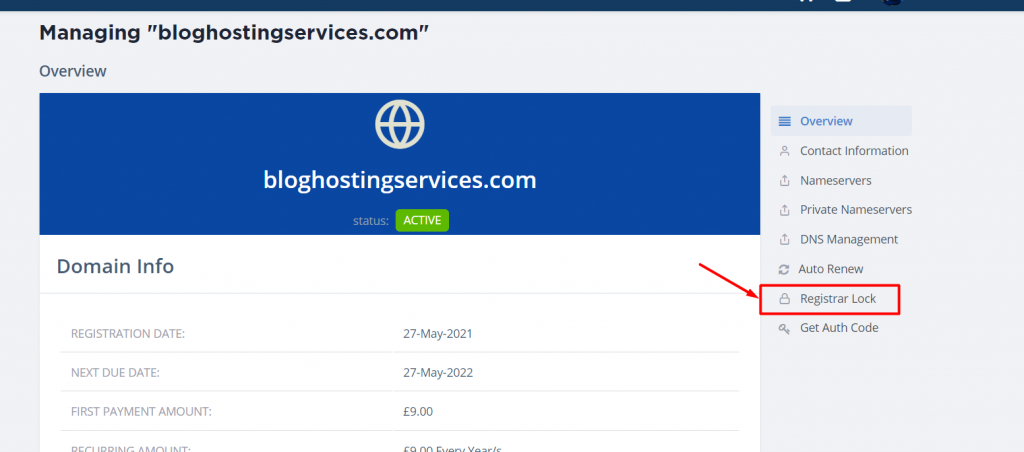
- After that, page will be navigated to the domain overview page. (check your domain still not verified if not verified please make sure to verify it)

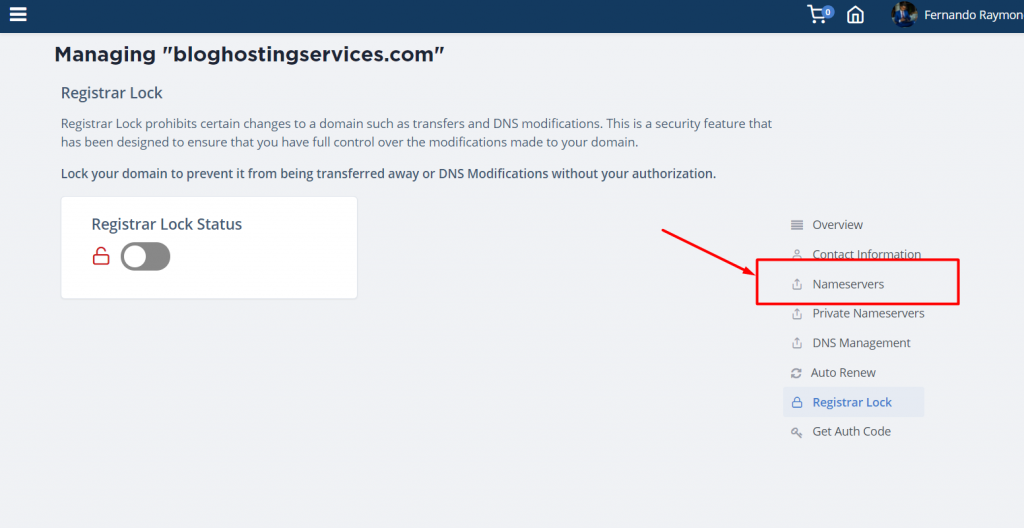
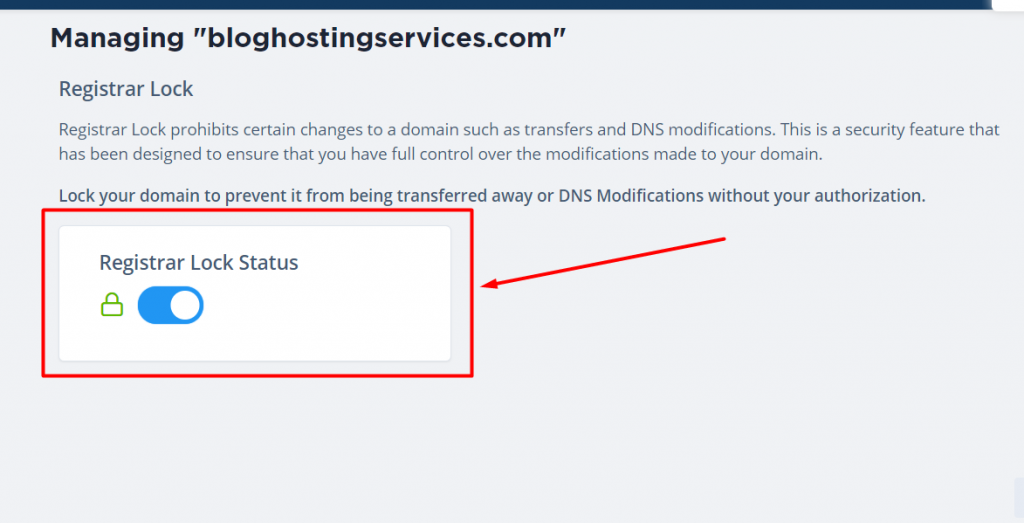
- Select the “Register Lock” link,
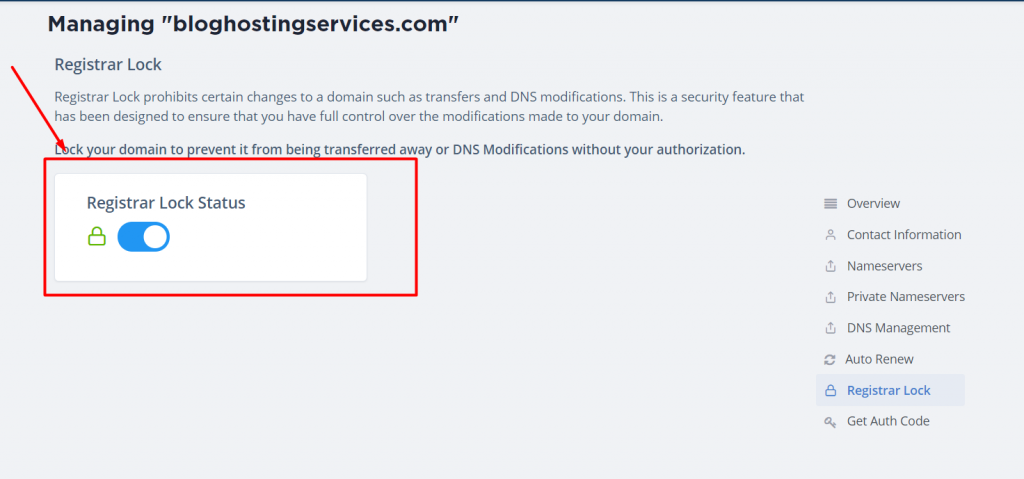
- After that, page will be navigated to the domain Register Lock page,
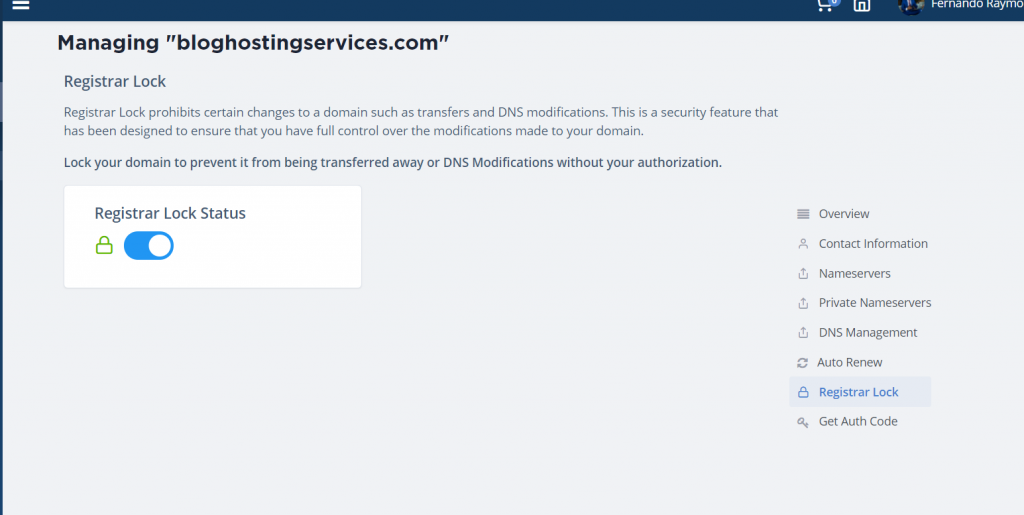
- Click the button to unlock your domain,
- After that click the “Private Nameservers” Link
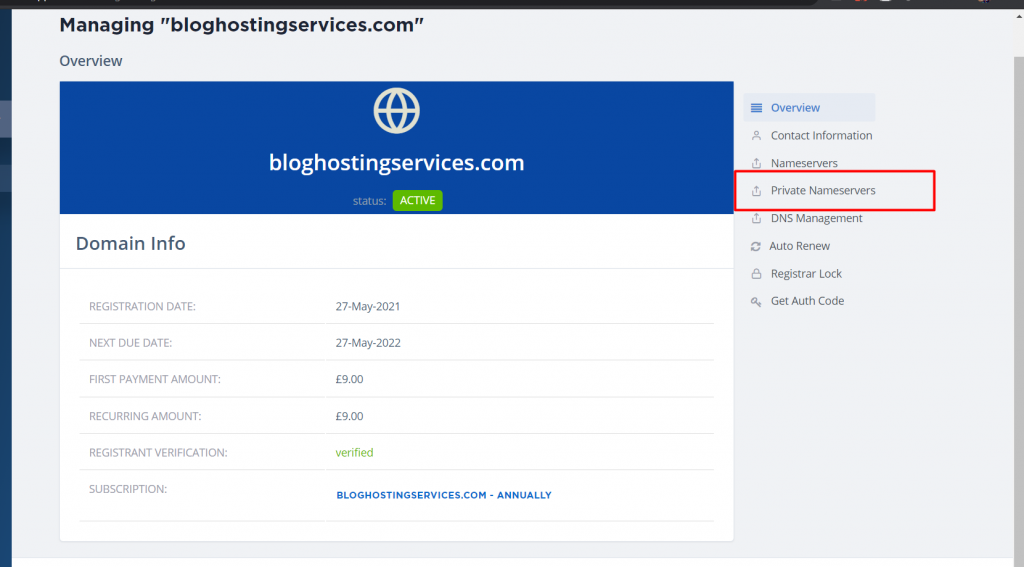
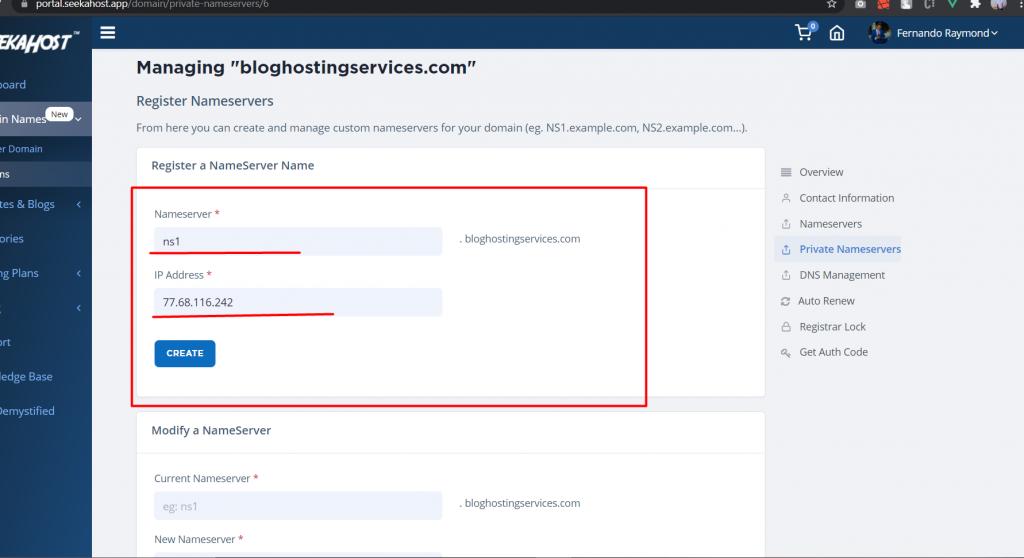
- Then page will be navigated to the Private Nameservers updating page. Now you can put your site details there,
ns1.yourdomain.com
IP: – your site IP address and click the create Button
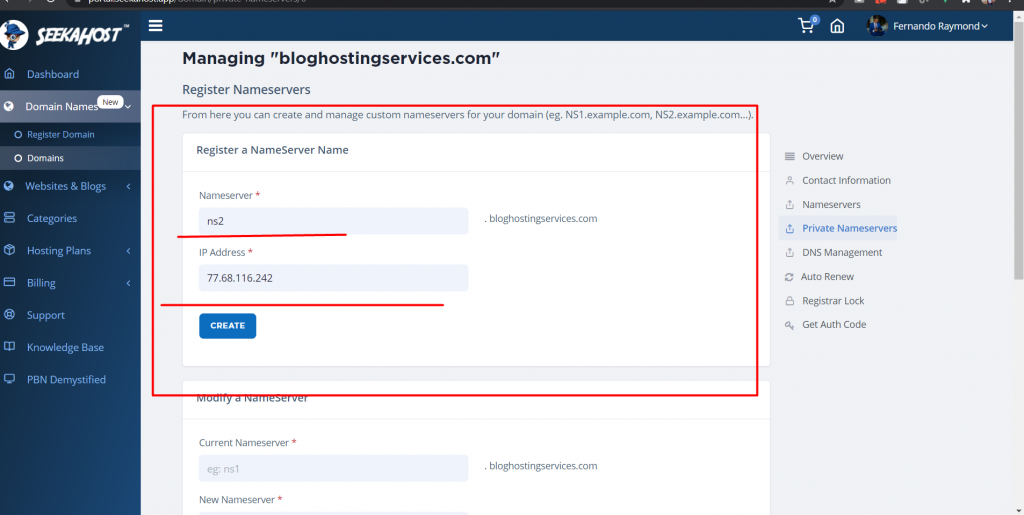
ns2.yourdomain.com
IP: – your site IP address and click the create Button
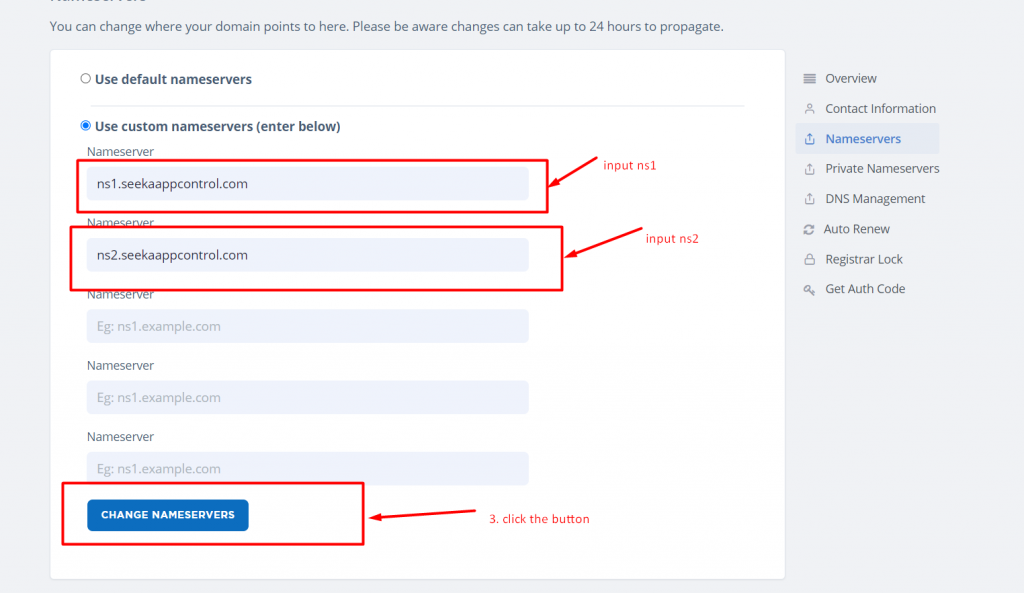
- After that click the “Nameservers” link,
- After that, page will be navigated to the domain Nameserver page,
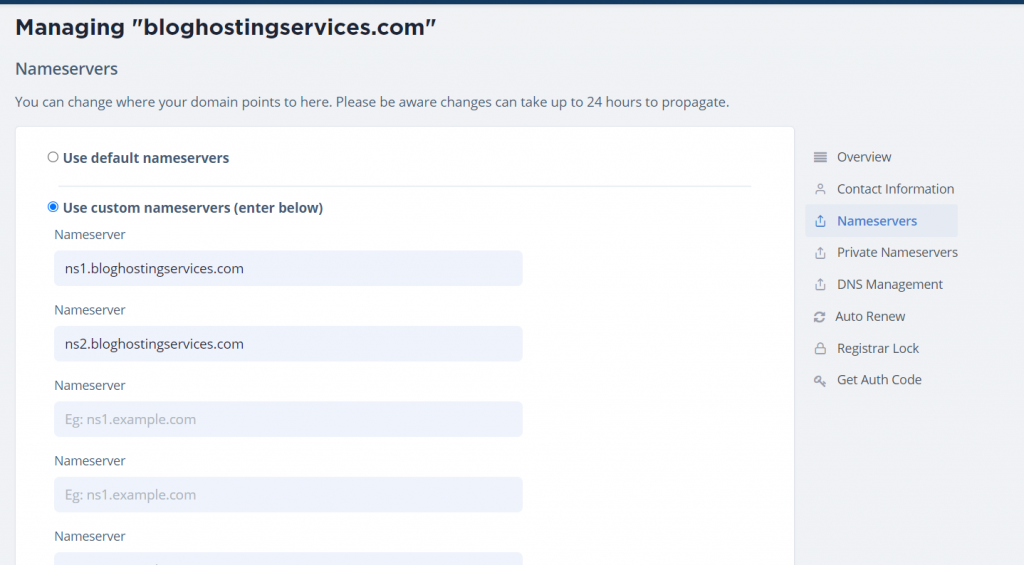
- Now you can change your new Nameserver records, below has mention your Nameserver records, copy that and past it in input fields, and click the change nameserver button.
ns1. jimmysocks.com
ns2. jimmysocks.com
- Finally, again go to the Domain register lock page and lock it.
Conclusion
Now that you know how to change your Private nameservers easily you can start to create your PBN’s or Websites and grow your business, blog or any other niche you have decided to take on. For anymore help with this feel free to send over a support ticket or ask our live chat.